
Are you getting bore of watching the TouchWiz based ROM on your Samsung device and want to install stock Android based ROM? If yes, then we must tell you that you need to install TWRP custom recovery on your Samsung device to install custom ROM on it later. The process to install TWRP recovery on Samsung devices is a little different then other OEMs. TWRP recovery is mostly installed on Samsung device via Odin tool, unlike other devices which use the fastboot commands. So in this guide we are going to show you the step by step process to install TWRP recovery via Odin on any Samsung phones.
Features of TWRP recovery:
TeamWin is the company behind TWRP recovery release, the TWRP recovery gained so much fame in a very short period after it’s release. TWRP recovery has a plain and simple UI with big on screen buttons to perform various tasks. The TWRP recovery gives you multiple option including installing zip file, backup and restore, mount, Settings, Reboot wipe and a lot more. In advance settings you can even the brightness of the display and also change the theme as well, infact TWRP recovery has an abundance of customizable features that you can never find on any other recovery.
How to install TWRP recovery on all Samsung Galaxy devices via Odin
The TWRP recovery installation process via Odin is super simple, just you need to download the correct TWRP recovery file and latest Odin tool for that. We have provided the link to download latest Odin tool v3.13.1 which is currently the latest version available till date.
Pre-requisites:
Download latest USB drivers for Samsung. Here
Now you need to install the latest ADB and fastboot driver for windows PC. Download the and install them by following our guide.
Download Odin v3.13.1 zip and unpack it on any convenient location on your PC. Google Drive.
Download the TWRP recovery .tar file from Here. (Optional: if it is not provided in the previous post).
Place the TWRP recovery tar file in the above extracted Odin folder.
Now it seems you are all set to go for TWRP installation via Odin.
Process to install TWRP recovery on Samsung via Odin
Step 1: Open the folder where you have unpacked the Odin.exe above and open it by double click.
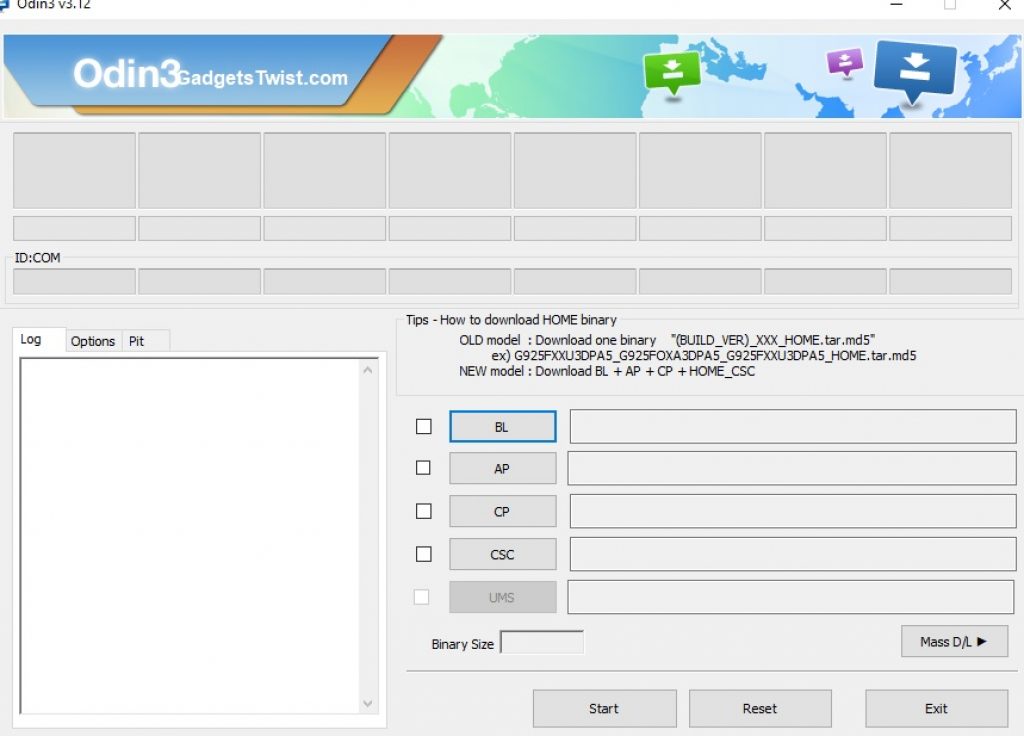
You will see the Odin screen like this (as shown above).
Step 2: Now Turn Off your device completely and boot it into Download Mode, if you don’t know how to do that, just follow this guide to see the process.
Step 3: Once in Download Mode, now you need to connect your device to PC via USB cable.

In the Odin interface, You will notice the ID:COM box on the top left will turn blue (as shown).
Step 4: Now click the AP button in Odin and it will ask you the location of TWRP recovery .tar file that needs to be installed. Just give it the path to the file and Click Ok.
Step 5: It will load the TWRP recovery tar file and once it is done with it, simply press the Start button to start the flashing process.
Wait for the process to complete.
That’s all about the process to install TWRP recovery on Samsung Galaxy devices via Odin.