
Follow our guide to root Galaxy A8/A8+ with magisk and install official TWRP recovery on it.
Samsung has announced some of it’s premium looking devices into mid range pricing tag. These latest offering include Galaxy A8 and A8 Plus, both device come with Infinity display just like 2017 flagship Galaxy S8.
The display sports a resolution of 2220 x 1080 pixel and under the hood both devices are powered by Exynos 7885 chipset along with 4GB/6GB (A8+) RAM variants.
Finally official TWRP recovery build has been released for both A8 twins and we have managed to put together a brief and easiest process to root Galaxy A8/A8+ and install TWRP recovery on it.
Rooting your device helps you in performing modifications in system, including flashing Xposed framework, substratum theme engine or any system related changing. Just read the instruction below to root Galaxy A8/A8+ and install TWRP recovery on Galaxy A8/A8+.
How to root Galaxy A8/A8 Plus and install TWRP recovery
Warning!
Rooting your device voids warranty so think twice before leaving for the process and don’t proceed ahead if you have no idea what you are about to do.
Galaxy A8/A8+ root | official TWRP recovery
There is no direct root method available yet so first we need to flash TWRP recovery to flash Magisk zip that allows us to obtain root access on our device.
Pre-requisites:
Download and install latest Samsung USB drivers on PC, here is the guide for that.
Set up adb and fastboot drivers on PC, follow our guide to install them within 1 minute.
Enable OEM unlock option from Developer options. Here is the guide for that
Necessary downloads:
Download TWRP recovery for Galaxy A8 SM-A530F. Link
Download TWRP recovery for Galaxy A8+ SM-A730F. Link
Download Force encryption disabler: Disable_Dm-Verity_FEC_v1.1.zip
Download RMM Bypass: RMM-State_Bypass_Mesa_v2.zip (Fixes the pre-normal RMM state latest devices)
Download Magisk 17.2.zip
Download Odin v3.13.1 zip and unpack it on any convenient location on your PC. Google Drive.
Process to flash TWRP recovery on Galaxy A8 and A8 Plus
Step 1: Open the folder where you have unpacked the Odin.exe above and open it by double click.
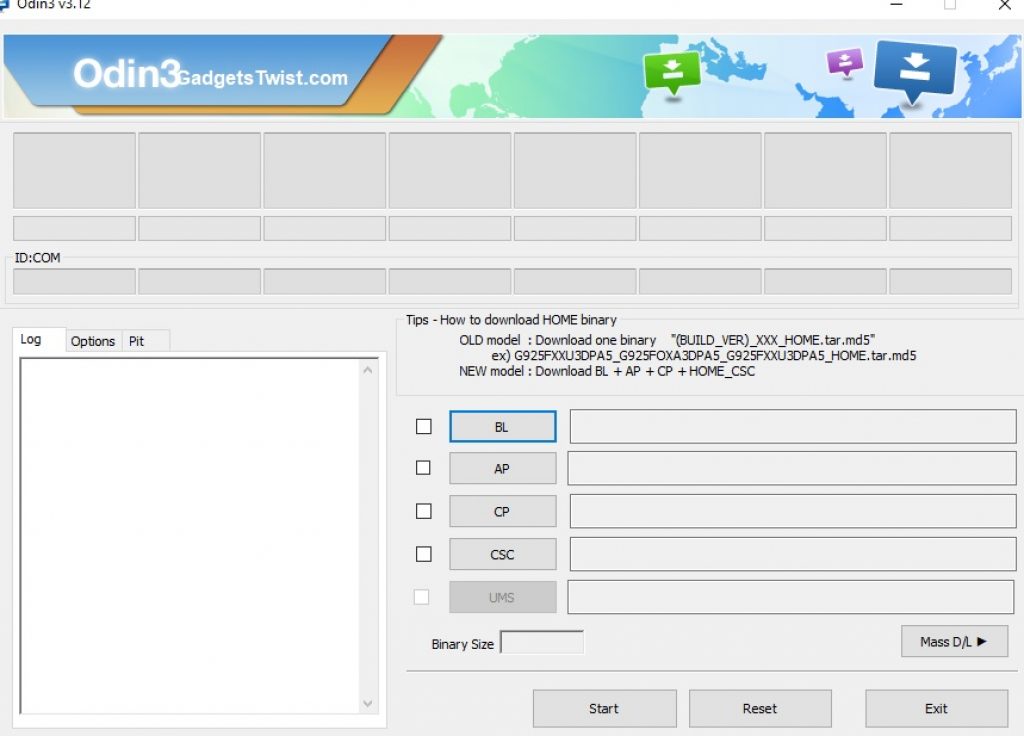
You will see the Odin screen like this (as shown above).
Step 2: Now Turn Off your device completely and boot it into Download Mode, if you don’t know how to do that, just follow this guide to see the process.
Step 3: Once in Download Mode, now you need to connect your device to PC via USB cable.
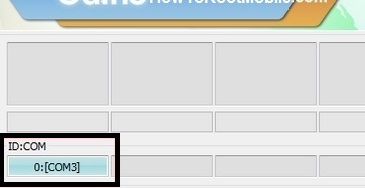
In the Odin interface, You will notice the ID:COM box on the top left will turn blue (as shown).
Step 4: Now click the AP button in Odin and it will ask you the location of TWRP recovery .tar file that needs to be installed. Just give it the path to the file and Click Ok.
Step 5: It will load the TWRP recovery tar file and once it is done with it, simply press the Start button to start the flashing process.
Wait for the process to complete.
That’s all about the process to install TWRP recovery on Galaxy A8 and A8 Plus via Odin. As you have successfully installed twrp recovery on your device, now process ahead for the rooting process.
Process to root Galaxy A8 and A8 Plus with Magisk
Step 1: Reboot your phone and connect it to PC then move the downloaded RMM-State_Bypass_Mesa_v2.zip, Disable_Dm-Verity_FEC_v1.1.zip and Magisk 16.7.zip to the device storage.
Step 2: Once done with the copying stuff, boot it into recovery mode, here is the guide to do that.
Step 3: Once in recovery mode, tap on ‘Install’ and choose the ‘RMM-State_Bypass_Mesa_v2.zip’ you transferred earlier and confirm on the next screen.
Step 4: Now repeat above step for the installation of ‘no-verity-opt-encrypt.zip’ and ‘Magisk-v17.2.zip’ as well.
Wait for the process to complete and reboot your device when the process is completed.
That’s it! You have successfully installed TWRP recovery and rooted Galaxy A8/A8+. If you are facing any issue in the whole guide just let us know by typing your query in the comment below or personally drop us an email at [email protected].