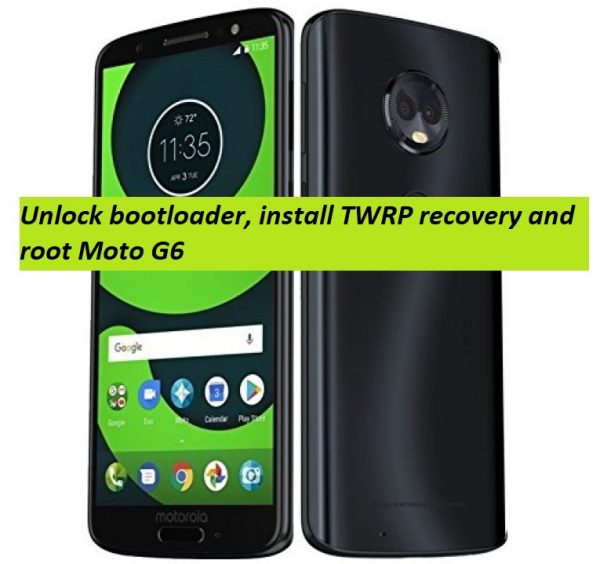
If you own a Moto G6 then we are glad to tell you that now you can easily root and install TWRP recovery on your Moto G6. The process is a bit lengthy but we have got you covered. So in this guide we are going to perform three task in a sequence, first we’ll unlock bootloader on Moto G6, then install TWRP recovery on Moto G6 and then the final process to root Moto G6 regardless of firmware. Just read more to see the detailed instructions on how to root Moto G6 and install TWRP recovery on Moto G6. The process is tested on the following Moto G6 variants and confirmed working on all these model including XT1925-2, XT1925-3, XT1925-4, XT1925-5, and XT1925-6.
Motorola launched it’s mid range a trio of Moto G6 Line up including Moto G6, Moto G6 Play and the Moto G6 Plus. The company first announced it’s G series device back in 2013 under Lenovo. Now the 6th iteration of Moto G is released with all new features, budget friendly price tag and running latest OS. Moto G6 is a great option to choose in a budget price, the device comes with a 5.7-inch full HD+ IPS display. The device is powered by a 1.8GHz octa-core processor along 4GB of RAM on board. The device has a 65GB in-built storage which can be extended by a MicroSD card up to 128GB. The optics department is packed with 12MP rear camera and 16MP front selfie shooter. Running Android 8.0 Ore out of the box.
Since Moto G series devices are development friendly so developers have already started their work on the Moto G6. This guide is a result of all their hard work, once you successfully unlock Bootloader, Install TWRP and Root your Moto G6 you will be able to install latest custom ROMs, tweaking mods and multiple apps that required root permission. Thanks to the Open Source nature of Android OS, just follow the simple steps given down to Unlock Bootloader, Install TWRP and Root your Moto G6.
How to root and install TWRP recovery on Moto G6
Before you begin:
Unlock bootloader on Moto G6, here is the separate guide to unlock bootloader on Moto G6, just visit the guide and after unlocking booting return to this again for further process to install TWRP recovery and root Moto G6.
Download and set adb-fastboot drivers on PC. Here is the guide for that.
Download and install latest USB drivers for your Moto G6 on PC. Follow our guide.
Enable developer options on your device, follow our guide if you don’t know how to do that.
Downloads
Download TWRP for Moto G6. [MotoG6-ali-TWRP.img]
Download boot images regarding device mode:
- XT1925-2 – XT1925-2_no-verity-boot.img
- XT1925-4 – XT1925-4_no-verity-boot.img
- XT1925-5 – XT1925-5_no-verity-boot.img
- XT1925-6 – XT1925-6_no-verity-boot.img
Download Encryption-Disabler Modified for ALI
Force_Encryption_Disabler_For_ALI_Oreo_v2.zip
Download latest Magisk zip.
Now it seems you are ready to go for the final process just keep following the guide.
Process to root Moto G6 and install TWRP recovery on Moto G6
Step 1: Boot your phone into bootloader mode to do so, Turn Off your Moto G6 completely and press Volume Down + Power button at the same time until you see the fastboot/bootloader mode.
Step 2: Connect your phone to PC via USB cable.
Step 3: Now open the folder where you have downloaded the MotoG6-ali-TWRP.img file and in the address bar just press Ctrl + A to select all text and replace it with CMD. Performing the above action will open command window on the PC with the current address of the TWRP recovery file.
Step 4: Now type the following command to boot TWRP recovery via PC on your phone.
fastboot boot TWRP-v3.2.1-ali.img
Step 5: Then type the following command to make a backup of current boot.img file,
adb pull /dev/block/platform/soc/7824900.sdhci/by-name/boot stockboot.img adb pull /dev/block/platform/soc/7824900.sdhci/by-name/recovery stockrecovery.img
Step 6: After this reboot your phone into bootloader mode, by typing the following command,
adb reboot bootloader
Step 7: Download the no verity boot image regarding device model and flash it. To do so type the command as given down and hit enter,
fastboot flash boot <insert boot image name here>.img
Step 8: Now it’s the time to flash the TWRP Recovery on your system. Just type the following command given down and hit enter.
fastboot flash recovery MotoG6-ali-TWRP.img
Step 9: After the flash process is completed, reboot your device into recovery mode and dismiss the password screen.
Step 10: Once in recovery mode, tap on Wipe > Format Data and type yes in the text field to format internal storage. Then go back and tap on Advanced > ADB Sideload and swipe.
Step 11: Grab the verity-disabler from the link above and flash it using ADB on your device. This will prevent force encryption while your device is booting up to preserve your new recovery partition after every new boot.
adb sideload Force_Encryption_Disabler_For_ALI_Oreo_v2.zip /tmp
Step 12: Now you need to sideload the Magisk zip file and to do so, type the following command.
adb sidleoad Magisk-v16.6.zip /tmp
Step 13: Once the process is completed just reboot your device and you are done.
That’s it! You have successfully rooted Moto G6 and installed TWRP recovery on it. Stay tuned for more updates and if you have any question just drop your comment below.
Source XDA
